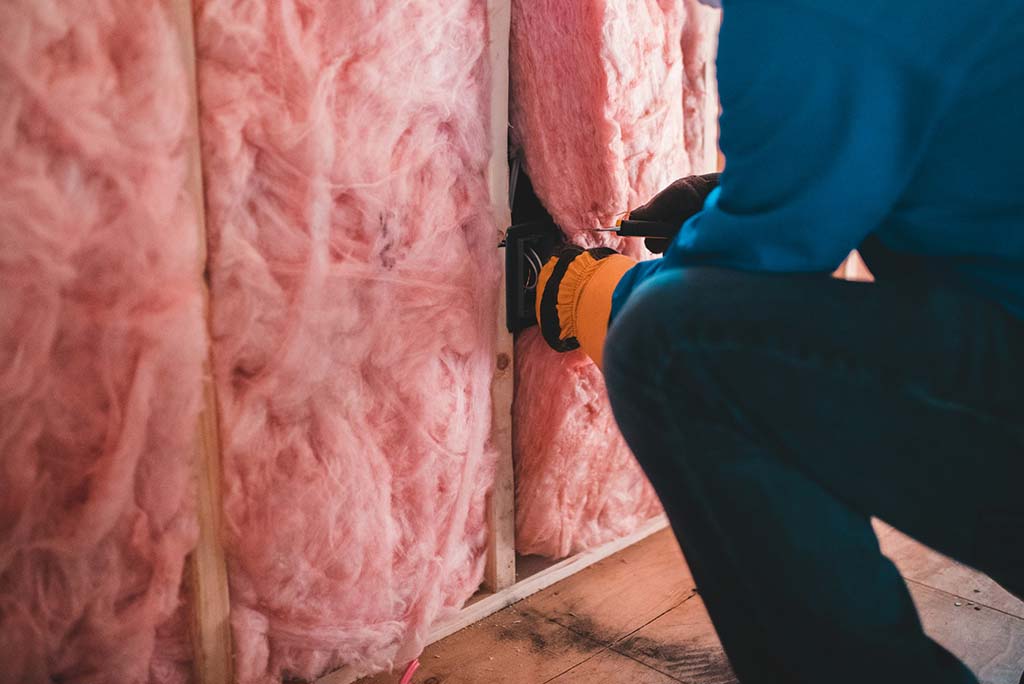
Loft conversions are brilliant for expanding living space in your home, and a way to ensure that your new loft conversion is as comfortable and enjoyable as possible is to have it adequately insulated. Not only will this make for a more cosy room, but it will also help to save you money on your energy bills. On top of this, it could also result in an improved EPC rating of your property, further adding to the value of your home.
However, loft conversions involves time and money and should therefore be carefully considered before going ahead with any plans you may have, and this includes insulation. In this article, we’ll be detailing exactly how you can go about doing this, making for a warm, toasty space for you and your family to relax in.
Roof Room Building Regulations
Building regulations have become more strict in recent years, meaning that roof rooms which were converted more than ten years ago are unlikely to meet the current standards. Prior to 2003, standards were relatively poor, so if your loft was converted a considerable time ago, there may be very little insulation.
At present, building regulations for loft conversions dictate that the roof’s U-value must be 0.18W/m² or below. This equates to a 270mm thick layer of fibre/wood insulation, 175mm of board insulation or 125mm of high-performance spray foam. If you’re having your loft converted now, builders should be installing insulation which meets the aforementioned standards and thickness. Insulation can be externally added between the new roof and the roof room ceiling during the re-roofing process.
Existing and Shared Roofs
If you share a roof with a neighbour, or if the roof covering isn’t being replaced, it’s recommended that you insulate the roof both between and under the rafters. This often means putting a layer of insulation between the rafters and a second layer beneath the rafters, thus helping to reduce the thermal bridging. This particular construction method is called a ‘cold roof’, as the rafters aren’t part of the insulated structure.
When adding insulation in between the rafters and the sarking felt, there should be a 50mm gap above the insulation for ventilation. What’s more, the insulation is also required to be level with the bottom of the rafters. The insulated plasterboard should then be fitted underneath this.
Insulation and Re-Roofing a Detached Property
When re-roofing a detached property, it’s recommended that insulation is fixed both between and above the rafters, also known as a ‘warm roof’, mainly because the majority of the insulation is placed above the roof’s timbers. Roofing timbers are well insulated, which also means that they provide a considerable element of warmth.
One layer will be placed above the rafters, while the second layer will be fitted between the rafters. An advantage of this is that you’ll have more headroom within the converted loft, which is highly convenient. However, this method is only suitable when all of the roofing is removed, giving builders access to the rafters themselves.
Should I Retrofit Insulation?
Generally, insulating a standard loft is relatively straightforward, but to retrofit insulation can be extremely costly and so it may not be a viable option for some looking to insulate their loft. There are three different areas of your loft which will need insulating to keep your house up to standard.
- Residual loft space
This is the joist area which isn’t part of the roof room structure and is often used as a storage area, mainly because it’s easily accessible. The area can be insulated in much the same way as a standard loft, by laying wool insulation between the joists. As it’s a fairly simple, standard method of insulation, it’s also fairly inexpensive.
- The stud walls
These are the small walls which are situated at the end of sloping ceilings. Stud walls can be insulated using wool or rigid boards. Again, due to how straightforward the method is, insulating stud walls is relatively cheap.
- Sloping roofs
This is usually the largest area of the loft, and as a result, it’s also difficult to properly insulate, thus making it a fairly expensive method. Unfortunately, this will be pretty costly regardless of the approach you take, and it will take time to see a return on the investment.
The first thing you should do is insulate the hard-to-reach places, such as residual space and the stud walls. If these two parts of your loft are insulated, it may mean that you won’t need to insulate a sloping roof (the most costly aspect of retrofit loft insulation).
It’s also worth considering the impact on your party wall if you choose to retrofit your loft with insulation in any major way, something we touched upon in our article last month.
Loft Conversion Ideas
There are many ways in which you can benefit from a well-insulated loft conversion and the possibilities are endless in terms of what you can transform it into, including:
- An upstairs living room
- Children’s bedroom
- Playroom
- Sewing room
- Bathroom
- TV room
- A low-level storage space
- Study
- Guest room with ensuite
- Extra bedroom
Some design options include:
- Exposing brickwork
- Going open-plan
- Installing skylights to receive as much natural light as possible
- Add a balcony to overlook the garden
- Embrace the structure of the loft
Here at Kingsmead Conversions, we provide premier loft conversions to customers throughout Oxford, Bedford, Milton Keynes, Buckinghamshire, Aylesbury and the surrounding areas. As part of the Guild of Master Craftsmen and The Institute of Carpenters, you’ll always be able to count on our conversion services. We work with a variety of professionals to ensure your conversion runs as smoothly as possible, including: plumbers, electricians, builders, architects and more. For more information, get in touch with us today – we’re always happy to help.
